Maximum & Suggested Inflation PSI:
Main Sport Boat Tubes: MAX: 3.6 PSI – SUGGESTED: 1.5-2 PSI
Keel Tube: MAX 4.5 PSI – SUGGESTED: 1 PSI
Air Deck Floor: MAX: 8 PSI – SUGGESTED: 6 PSI
Step #1 – Lay your Inflatable Sport Boat out on a clean flat surface with no sharp objects. Inflate main 3 side tube chambers about 30-50%. Just enough so the boat starts to take shape. At any time during the assembly let some air out of the tubes to make inserting the floor pieces easier.
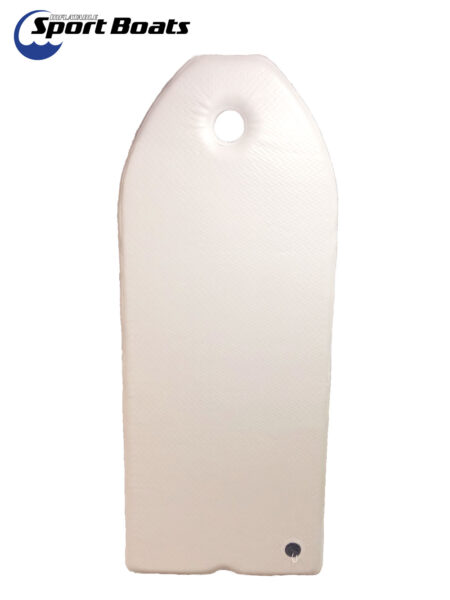
Step #1a – AIR FLOOR MODEL BOATS: skip Steps #2-5. Inflate air floor completely (Maximum 8 PSI) BEFORE inflating the keel.
What to use to inflate?
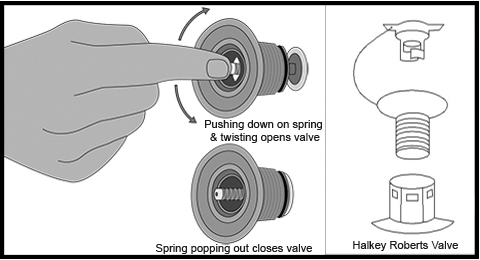
You can inflate using any air blowing device such as a shop vac on blow, leaf blower, magic air inflator, or PSI auto inflator by just butting up the inflator to the open air valve and pumping air in. The foot pump has a valve adaptor on it and is adequate to inflate all Sport Boats 100%. Attach the foot pump while the valve needle is popped up and closed and use to top off all tubes. This way when you remove the foot pump the valve will automatically close and air pressure will remain. You can not over inflate the product by using the foot pump. [/alert]
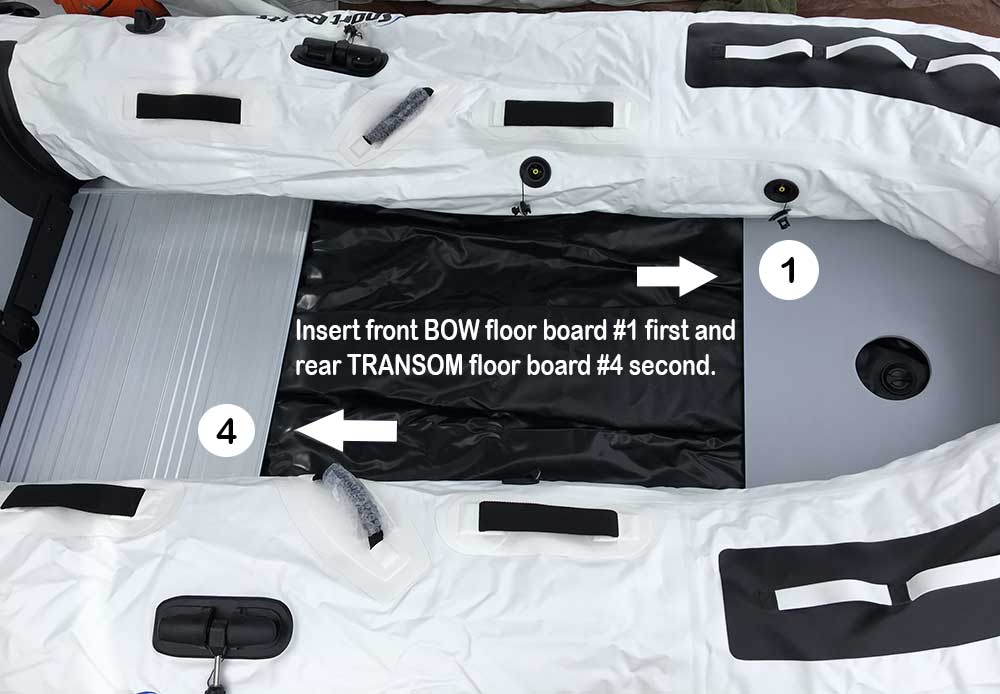
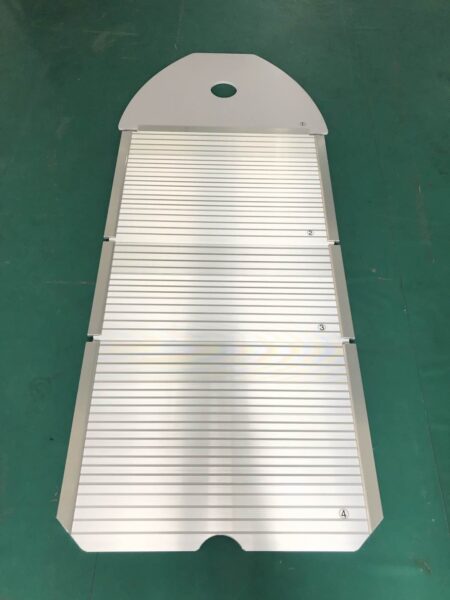
Step #2 – Insert front floorboard #1 and rear transom floorboard #4. Front floorboard #1 will have a hole in it for the inflatable keel valve. Rear transom floorboard #4 (#5 for SB-330) will be the largest floorboard with a small semicircle cut out to fit around the drain valve on the transom.
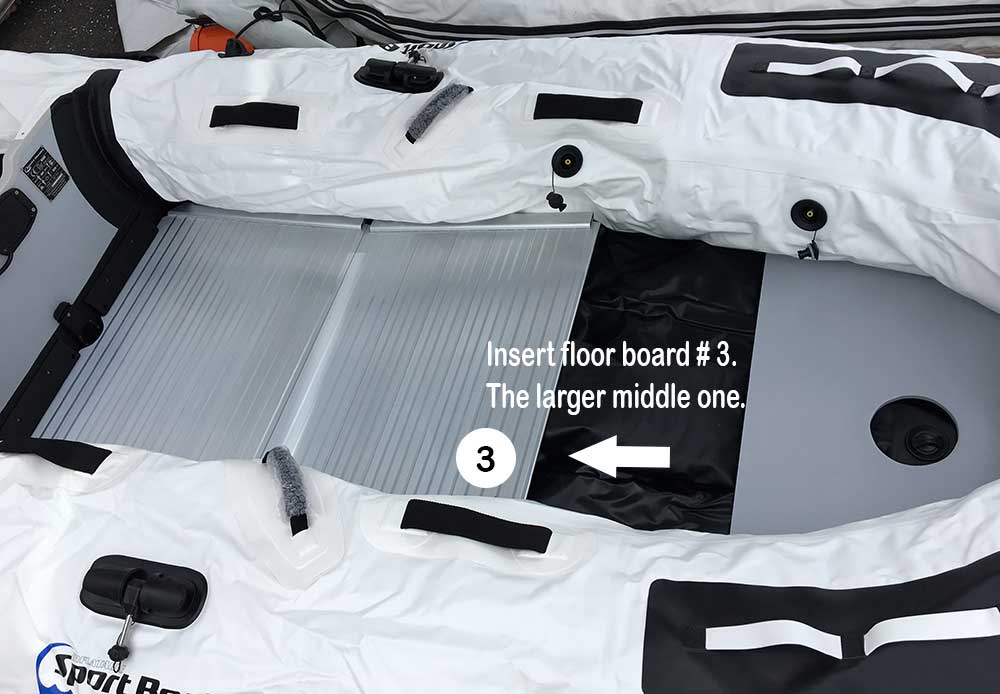
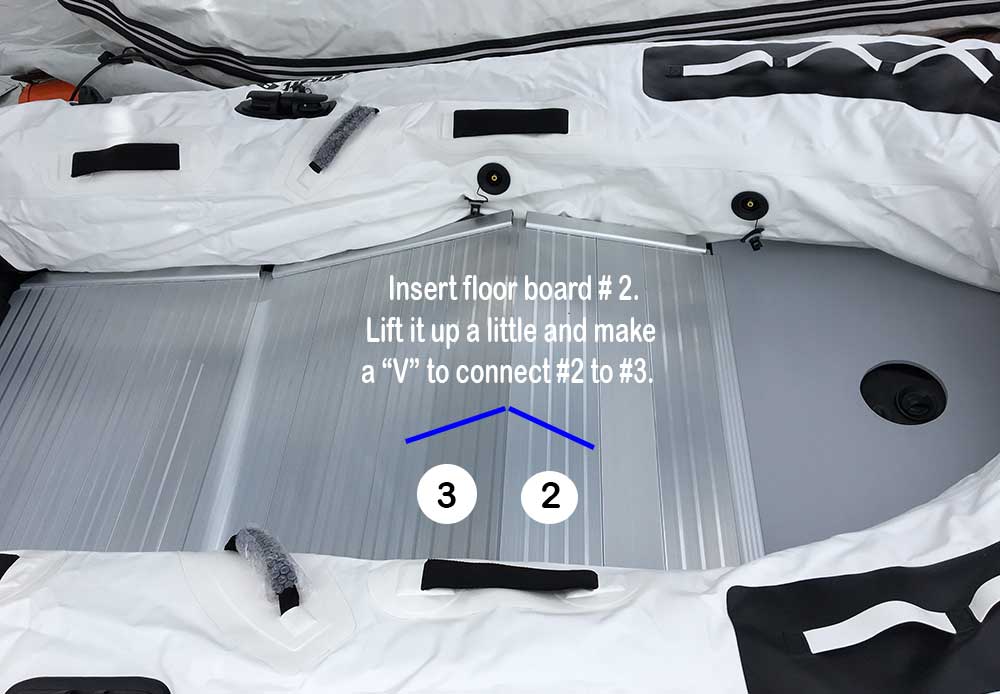
Step #3 – Insert middle floorboards #2 and #3 one at a time. Remember it is OK to let more air out of the boat tubes to make this process easier.
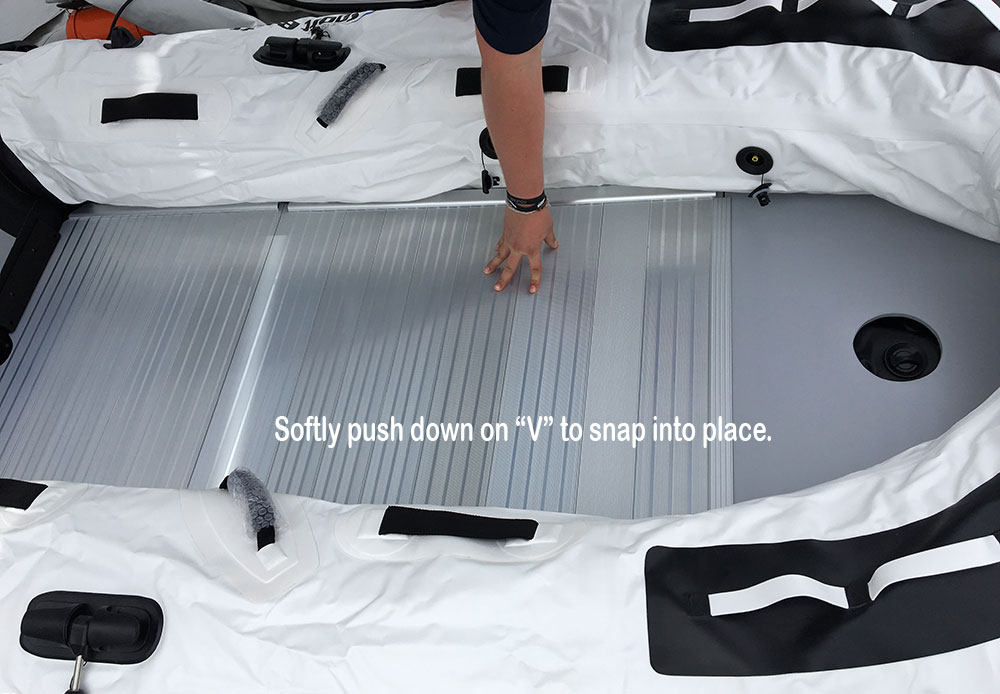
Step #4 – Make “V” shape with middle floorboards so they connect. Softly push down so they snap into place and flatten.
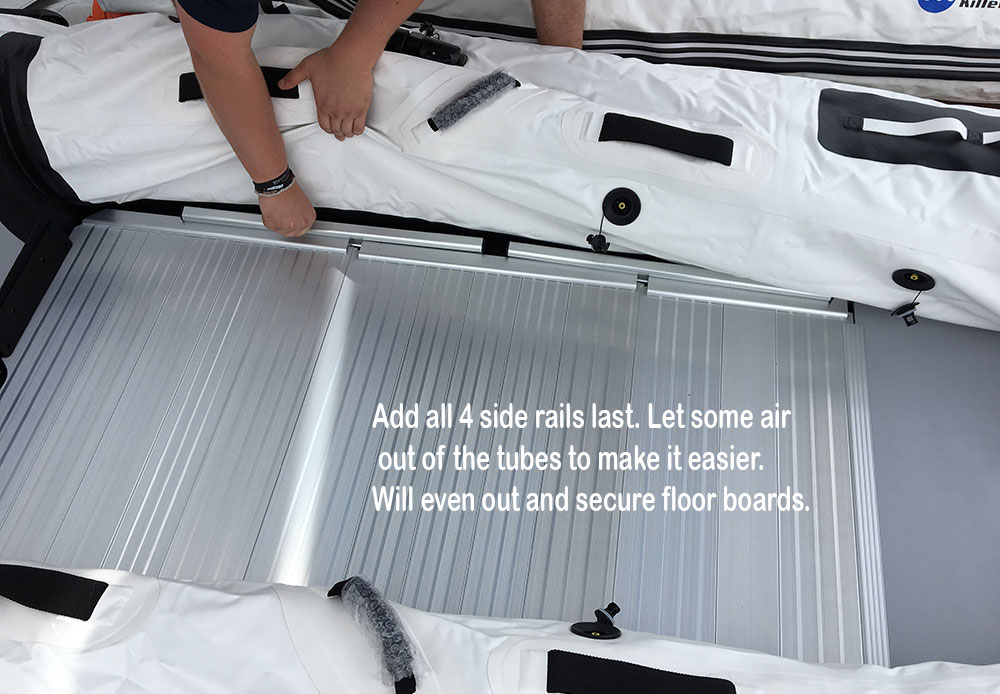
Step #5 – Add 2 side rails per side (4 total) to even out and secure all floorboard pieces. The slit on side rails will fit into the floorboards with a smooth curve side to contour and face the tube. The floor should be flattened out after this step and you are ready to fully inflate.
Step #6 – Inflate all 3 boat tube chambers first and 1 keel chamber about 95% and top off the remaining 5% with the foot pump. Use a foot pump to inflate until the boat tube is rock hard and the foot pump is hard to use. Once tubes are completely inflated, floorboards should not be able to move at all. If they do move, you need to inflate your boat more.
You’re ready to use your Dinghy!
Aluminum Floor SB-330
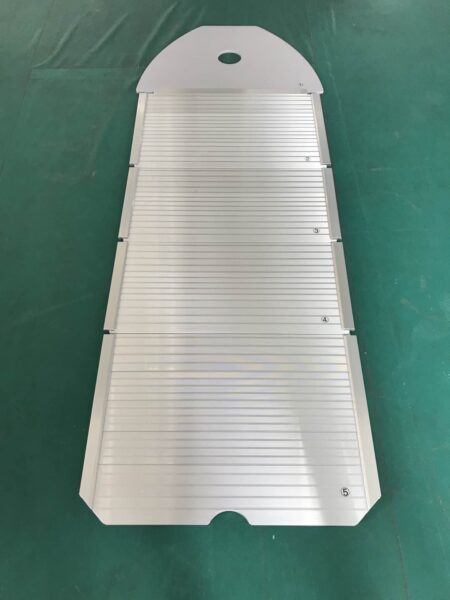
Aluminum Floor SB-270 & SB-300
Air Deck Floor
